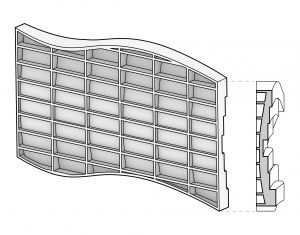
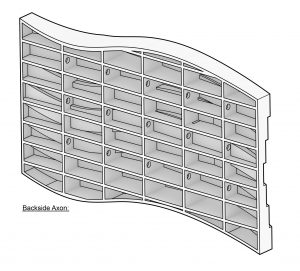
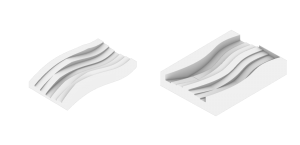
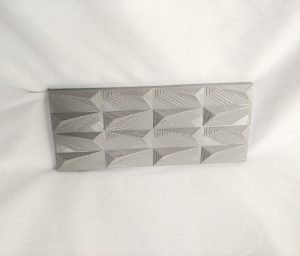
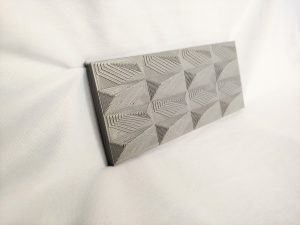
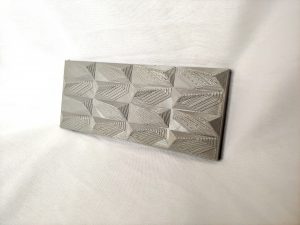
After last week’s discussion, the design of the panel’s back is now more suited for the Ram Press. By removing most of the surfaces from the backside of the panel there will be less friction force when then mold is removed from the clay. Now there is a gradually curved face that follows the path of the stepping stipes on the frontside of the panel. In section you can see how this curve on the back follows the steps on the front, allowing the ram press mold to slip off more easily.

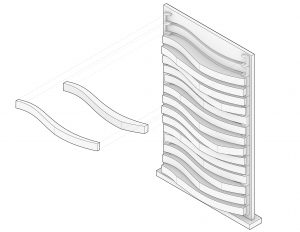
We have decided to redesign our project to be manufactured through the RAM Press machine. With this choice, we are now able to hollow out the back of our panel to reduce the weight. As well as incorporate structural webbing which will not be visible during final instillation. The panels will be hung as a wall condition. They will be notched into a framework where a panel will be lifted and slide into place and held with clamps at designated areas.

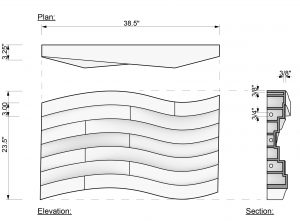
The panel’s dimensions are as shown. The webbing has a consistent thickness of 3/8″ in order to evenly dry during the firing stage. The overall size of each panel is now more practical due to the backs being hollowed and not weighing as much as they previously did.

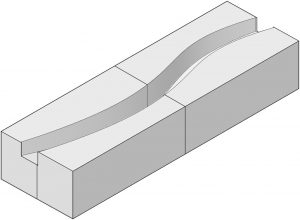
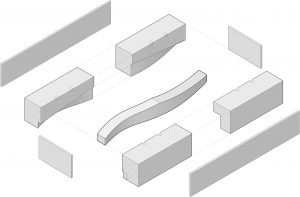
In order to properly manufacture the project’s terrocatta pieces, a cast must be drawn of the desired form. Above is the ideal form that we would aim to cast. The cast, as seen, will be split into four pieces in order to avoid creases on the finished piece.

Above is an exploded axon of how the casting case would opperate. The four pieces will cast around the desired clay form, and then be further braced by plywood boards on each face of the casting.

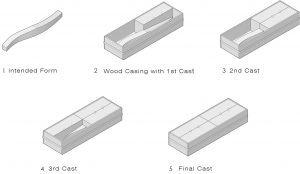
Above is a step by step process of how the clay would be cast using our casting system. Once the disired form is identified the casts will be placed one at a time in order to avoid creases and air bubbles. The casts also have small divits on their top faces to allow the user to easily lift the cast vertically when the clay is dried and ready to be removed.

Above are the general dimensions of the built wall, as well as a singular module.

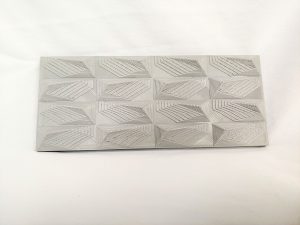
This above photo is an exploration of how multiple modules could be cast at the same time.

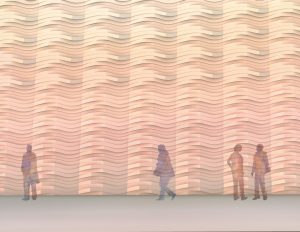
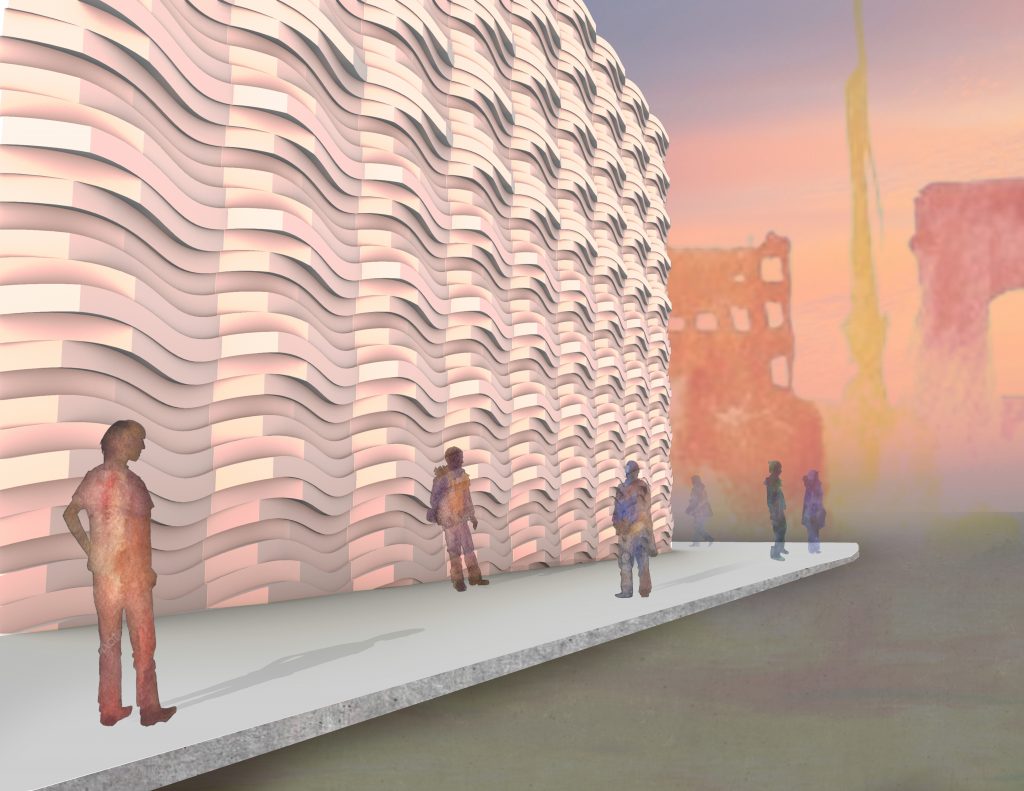
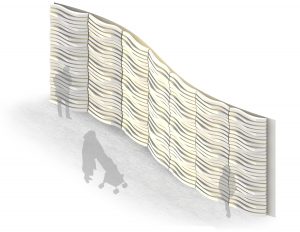
Full scale digital representation of a façade wall with sunlight pattern interaction with the terra cotta as well as people occupying the exterior space.

Terra Cotta embedding system generated for one of our façade iterations. It consists of slots where the TC slides into place creating the façade patterns. The wall allows for the façade to be in a fixed position but still consist of lively qualities due to the generated sun patterns that reflect on the surface of the terra cotta.


Cement and Concrete are often confused with one another. It is important to differentiate these two materials though because they both have unique qualities. Cement is a greyish powder that acts as the glue that holds concrete components together. Without cement, we would not have concrete. The main type of cement used today is known as “Portland Cement” and is made by burning limestone and clay. This material is also chemically combined with calcium, aluminum, silicon, and iron during its manufacturing process.

Step One: Requiring Raw Materials
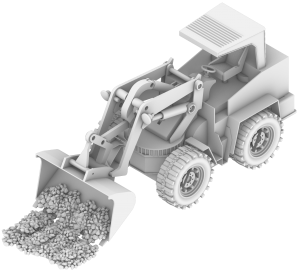
Limestone and clay can be found in shallow water areas between 3o degrees north latitude and 30 degrees south latitude. The material is then crushed into smaller sizes, about 3 inches big, so it can later be combined with other strengthening materials.

Step Two: Crushing and Combining
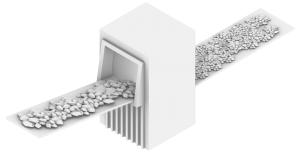
Once the raw limestone and clay are brought to the manufacturing factory, they are crushed into small 3-inch pieces if not done so already. The crushed rock is then combined with other ingredients such as iron ore, fly ash, and other materials depending on the required chemical proportions. The mixed components are then fed into a cement furnace.

Step Three: Heating
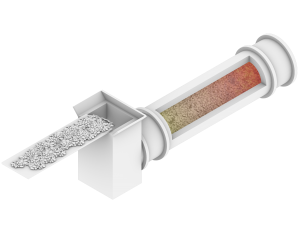
The furnace used in this step can be compared to a brick oven, except that this is a rotary furnace. Within the rotary furnace, the materials are heated to about 2700 degrees fahrenheit to ensure that the cement components combine with one another. The product of this process is called “Clinkers”. These clinkers are grey balls that are about the size of a marble.

Step Four: Finalizing the Material
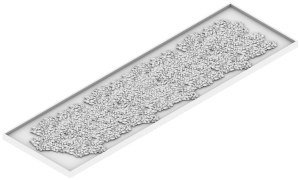
Once the clinkers are cooled, machines grind them with a small amount of gypsum and limestone. The additional limestone helps strengthen the final material, while the gypsum slows the cement’s reaction time with water. This step is important because when water is added to cement, it only has a few hours before it fully hardens. It is important to ensure that there is an adequate amount of time to cast the concrete with the cement before it fully hardens. After this final mixing and grinding step, the material is shipped out to be used on site.


Work Cited:

https://theconstructor.org/building/manufacture-of-cement/13709/

https://www.thermofisher.com/blog/mining/the-cement-manufacturing-process/

https://www.youtube.com/watch?v=NM_F1t-aG9s


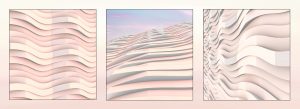
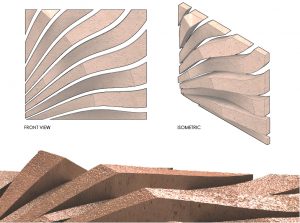
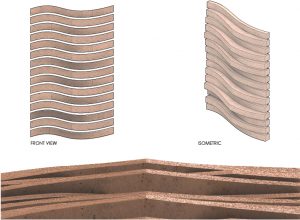
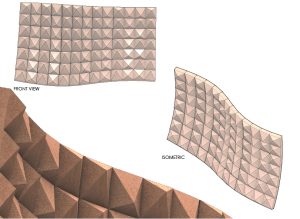
Each terra-cotta iteration consists of a pattern that reacts to sun path rays and creates various different visuals throughout the day. It creates the illusion that the architecture is lively without even the facade actually moving. Two of the iterations have small channels that allow for light/air to filter through, while the third iteration is purely a patterned design that relies solely on visual manipulation.

Part of the construction process would most likely consist of a structural boarder that has cables running through or along each module that create a quasi curtain wall segement.


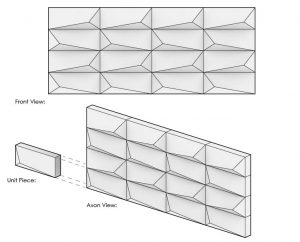
This iteration explores a concept of shadows climbing vertically up the wall despite its static layout. The goal is for a person who is walking past the wall to experience a shift in dark and light spaces due to the different angled planes on the walls facade. The whole wall is made from a singular unit but arranged on the wall in different orientations. This form can be imagined as either a screen wall, or intergrated into the construction of the wall itself.


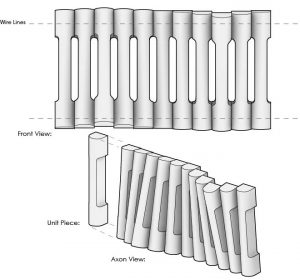
This iteration was an attempt to create a terracotta wall condition using extruded members rather than RAM pressed “bricks”. Here, these rounded extrusions are hung from wire and are then rotated around that given point to create a fluid moving feel as one walks past the wall. The pieces are further altered by a scoop cut taken out of the center sides of each piece. This allows light to pass through the wall in interesting ways while further altering the shadow arrangement as someone walks by. The rotating of the pieces and center cuts also creates a moment where one’s sightlines can only pass fully through the wall when they are directly infront of a given whole. This means that as one walks down the length of the wall, their view into the space behind the wall will change as their postion infront of it does.

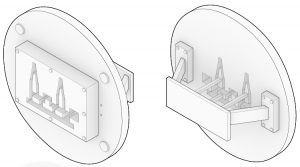
The metal fingers are attached to the die head that create hollow voids in the Terra Cotta figures.

Like the die head, it is a customized secondary piece that is essential in the fabrication process.